You can use localization APIs for specialized translation tasks that are not automatically handled by adding translations to the localization table. Roblox provides a LocalizationService to handle all localization scripting needs. Use the LocalizationService for the following tasks:
If you use any localization APIs when translating your experience, listen for any changes to the user's LocaleID to react to users switching their language while in an experience.
When reusing translation code, you should use a TranslationHelper ModuleScript to handle errors and missing translations.
Localize images and sounds
Add localization beyond text in your experience by providing unique images and sounds based off of a user's locale. To localize assets, first add the source and target asset IDs to your experience's localization table then use the localization API to fetch the different assets.


To start localizing images and sounds, add your source and target asset IDs to your localization table. Asset ID entries on the localization table must include a Key as an identifier to be called by the API.
The following is an example entry on a localization table using asset IDs:
| Key | Source | es | pt |
|---|---|---|---|
| Key_JewelsImage | 2957093606 | 2957093671 | 2957093727 |
The following code will replace the asset ID of an ImageLabel with the Spanish asset ID provided in the localization table:
local ReplicatedStorage = game:GetService("ReplicatedStorage")
local LocalizationService = game:GetService("LocalizationService")

-- Local variables
local localizedImageID
local localizedImage = Instance.new("ImageLabel")

-- Load Translator for "es". Wrap the function within a pcall() to protect against failures.
local res, translator = pcall(function()
	return LocalizationService:GetTranslatorForLocaleAsync("es")
end)

if res then
	-- Get asset ID from localization table by referencing the Key
	localizedImageID = translator:FormatByKey("Key_JewelsImage")
	-- Set the image
	localizedImage.Image = "rbxassetid://" .. localizedImageID
else
	print('GetTranslatorForPlayerAsync failed: ' .. translator)
end
Translate individual strings
In some circumstances, you may want to target individual strings for translation. Translator:Translate() can fetch individual entries on the localization table based on the source string.
In the next example, the following localization entry is used:
| Source | es | es | pt |
|---|---|---|---|
| Screen | Pantalla | 295093671 | 2957093727 |
The following script will print the Spanish translation of "Screen" to the Output window:
local ReplicatedStorage = game:GetService("ReplicatedStorage")
local LocalizationService = game:GetService("LocalizationService")

-- Load Translator for "es". Wrap the function within a pcall() to protect against failures.
local res, translator = pcall(function()
	return LocalizationService:GetTranslatorForLocaleAsync("es")
end)

if res then
	-- Use Translate function, providing object context and string
	local sourceTranslation = translator:Translate(game, "Screen")
	print(sourceTranslation) -- Expected Output: "Pantalla"
else
	print('GetTranslatorForPlayerAsync failed: ' .. translator)
end
Use context overrides
There are some cases where the same string may have multiple meanings. For example, the word "Screen" can indicate both a computer screen and a window screen, but the Spanish translations are completely different.
The Context column of the localization table is for specifying translations through context overrides. Specify the in-game object on your localization table as in the following example:
| Context | Source | es |
|---|---|---|
| workspace.WindowScreen.SurfaceGui.TextLabel | Screen | Mosquitero |
| Screen | Pantalla |
The following script uses a context override to prioritize a specific translation:
local ReplicatedStorage = game:GetService("ReplicatedStorage")
local LocalizationService = game:GetService("LocalizationService")
local Workspace = game:GetService("Workspace")

-- Load Translator for "es". Wrap the function within a pcall() to protect against failures.
local res, translator = pcall(function()
	return LocalizationService:GetTranslatorForLocaleAsync("es")
end)

if res then
	-- use Translate function, providing object context and string
	local sourceTranslation = translator:Translate(Workspace.WindowScreen.SurfaceGui.TextLabel, "Screen")
	print(sourceTranslation) -- Expected Output: Mosquitero
else
	print('GetTranslatorForPlayerAsync failed: ' .. translator)
end
Multiple contexts
In the case of multiple contexts, the localization service compares object relationships in the Context field from right to left, using the closest match.
For example, a localization table in your experience may have the following shared Source strings entries:
| Context | Source | es |
|---|---|---|
| workspace.WindowScreen.SurfaceGui.TextLabel | Screen | Mosquitero |
| playerGui.ScreenGui.TextButton | Screen | Pantalla |
If the string "Screen" is added to a playerGui.ScreenGui.TextLabel object in your experience, the localization service displays "Mosquitero" as the Spanish translation as the closest context match.
Substitute parameters
When using parameters to translate dynamic content, set the values to a table and pass the table as an argument through the API.
In this example, the experience has a localization table with the following entries:
| Key | Source | es |
|---|---|---|
| Key_Prize_1 | {1:int} jewels | {1:int} joyas |
| Key_Prize_2 | ${AmountCash:fixed} cash and {NumJewels:int} jewels | ${AmountCash:fixed} dinero y {NumJewels:int} joyas |
Use the following code sample to translate these strings with parameter values:
local ReplicatedStorage = game:GetService("ReplicatedStorage")
local LocalizationService = game:GetService("LocalizationService")

-- Load Translator for "es". Wrap the function within a pcall() to protect against failures.
local res, translator = pcall(function()
	return LocalizationService:GetTranslatorForLocaleAsync("es")
end)

if res then
	-- Set the parameter value in "Key_Prize_1" to 100
	local keyTranslation1 = translator:FormatByKey("Key_Prize_1", {100})
	print(keyTranslation1) -- Expected Output: 100 joyas

	-- Set multiple parameters to 500 and 100 by name
	local keyTranslation2 = translator:FormatByKey("Key_Prize_2", {AmountCash=500, NumJewels=100})
	print(keyTranslation2) -- Expected Output: $500.00 dinero y 100 joyas
else
	print('GetTranslatorForPlayerAsync failed: ' .. translator)
end
Switch languages
In some cases, you may want to display translations of other languages in your experience. You can set a new translator with a different country code using LocalizationService:GetTranslatorForLocaleAsync().
The following code sample sets one translator with a manual country code and an additional translator based off of the user's global locale settings:
local ReplicatedStorage = game:GetService("ReplicatedStorage")
local LocalizationService = game:GetService("LocalizationService")
local Players = game:GetService("Players")

-- Local variables
local player = Players.LocalPlayer

-- Load Translator for "pt". Wrap translator functions within a pcall() to protect against failures.
local res1, translator = pcall(function()
	return LocalizationService:GetTranslatorForLocaleAsync("pt")
end)

-- Load second Translator with Player's locale, in this example "es"
local res2, fallbackTranslator = pcall(function()
	return LocalizationService:GetTranslatorForPlayerAsync(player)
end)

-- Use Translate function with first Translator
if res1 then
	local translate1 = translator:Translate(game, "jewels")
	print(translate1) -- Expected Output in pt: joyas
else
	print('GetTranslatorForPlayerAsync failed: ' .. translator)
end

-- Use Translate function with second Translator
if res2 then
	local translate2 = fallbackTranslator:Translate(game, "jewels")
	print(translate2) -- Expected Output in if user is set to 'es': jóias
else
	print('GetTranslatorForPlayerAsync failed: ' .. fallbackTranslator)
end
React to users switching languages
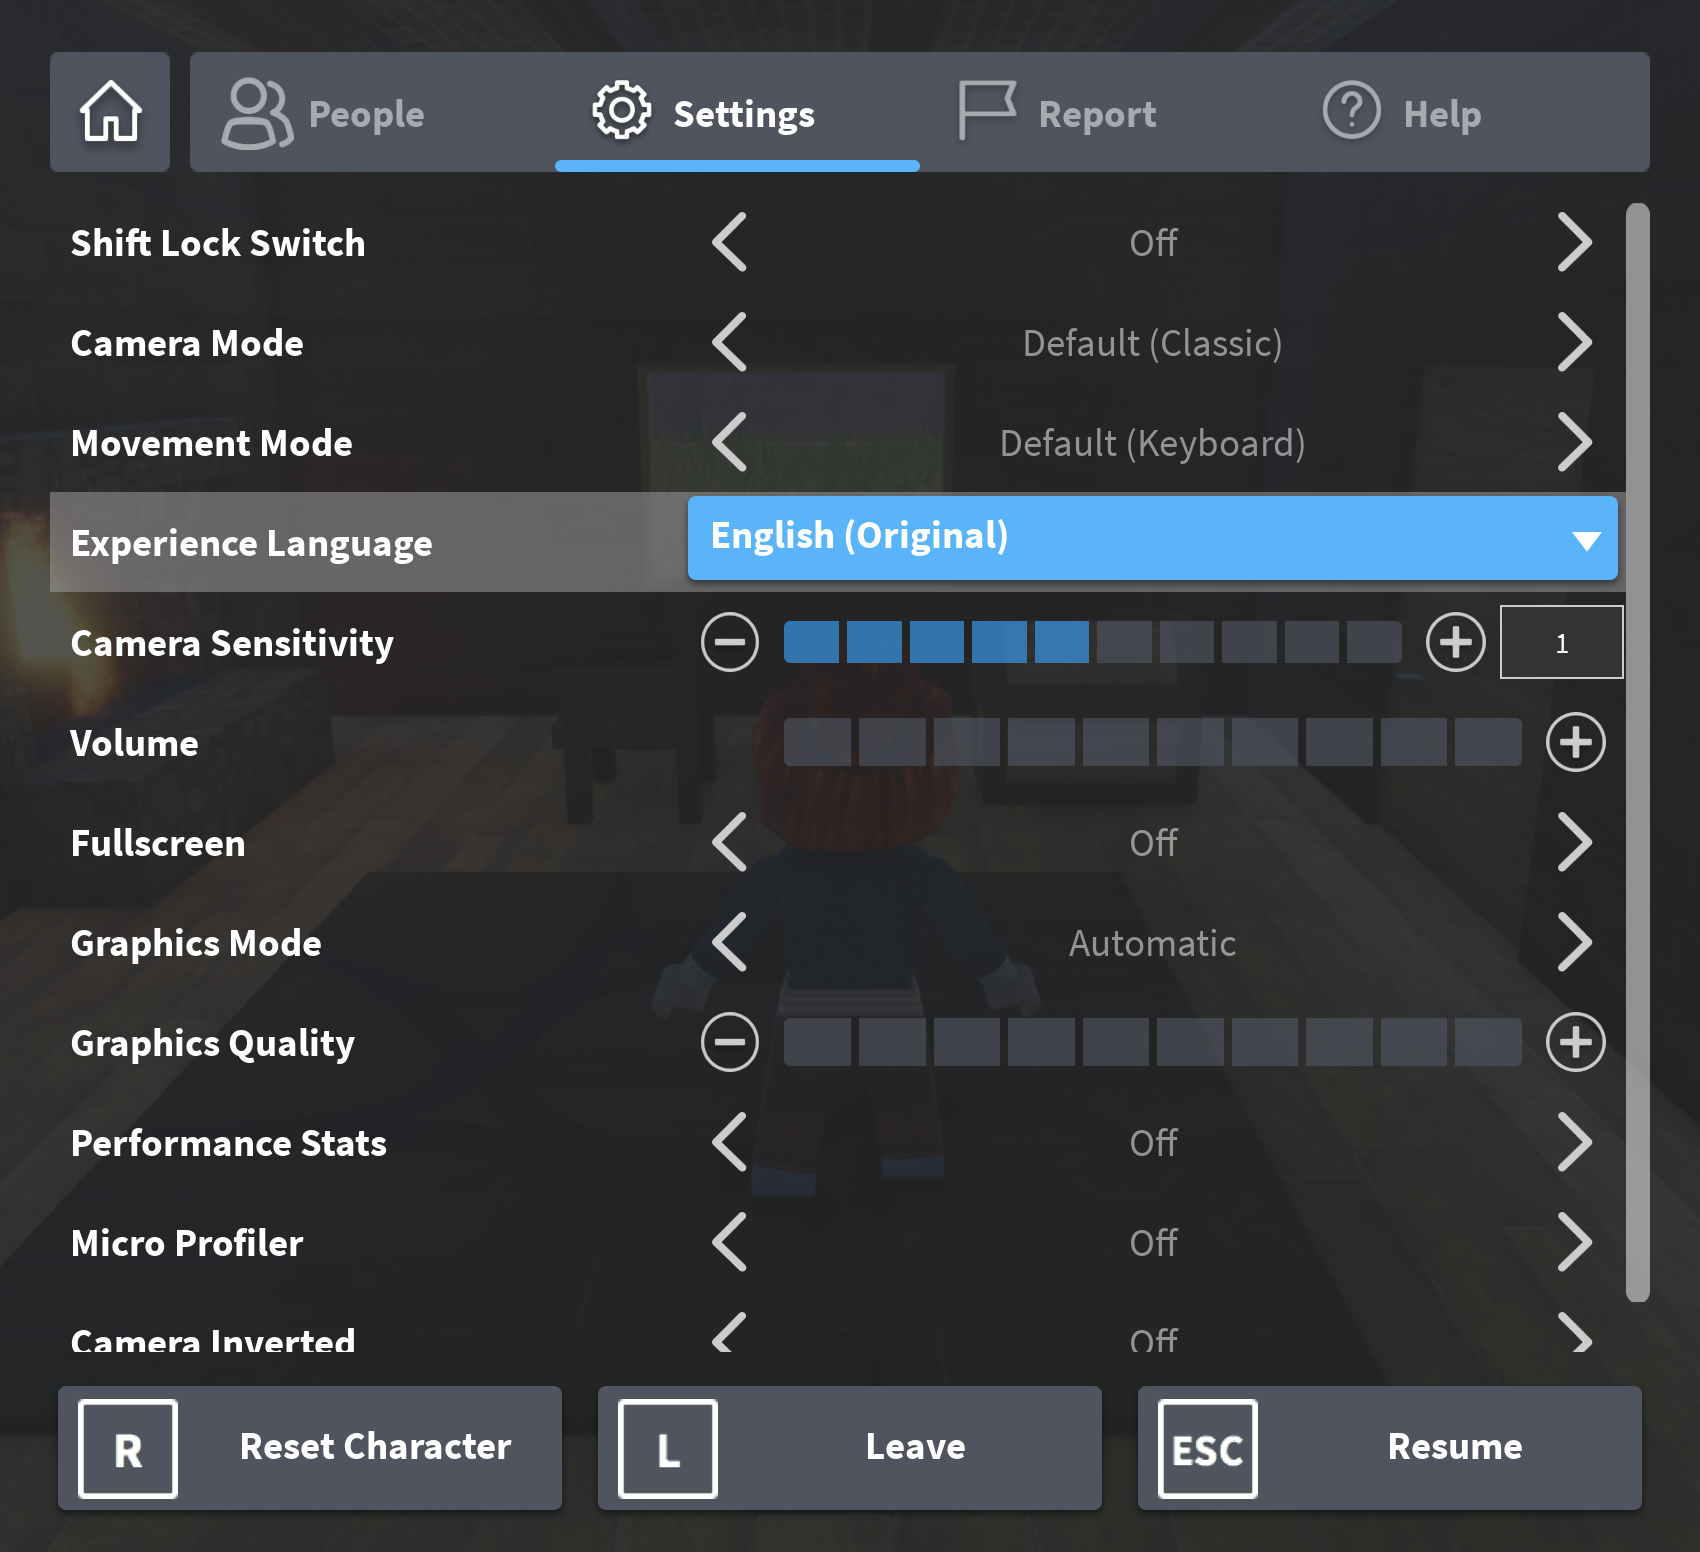
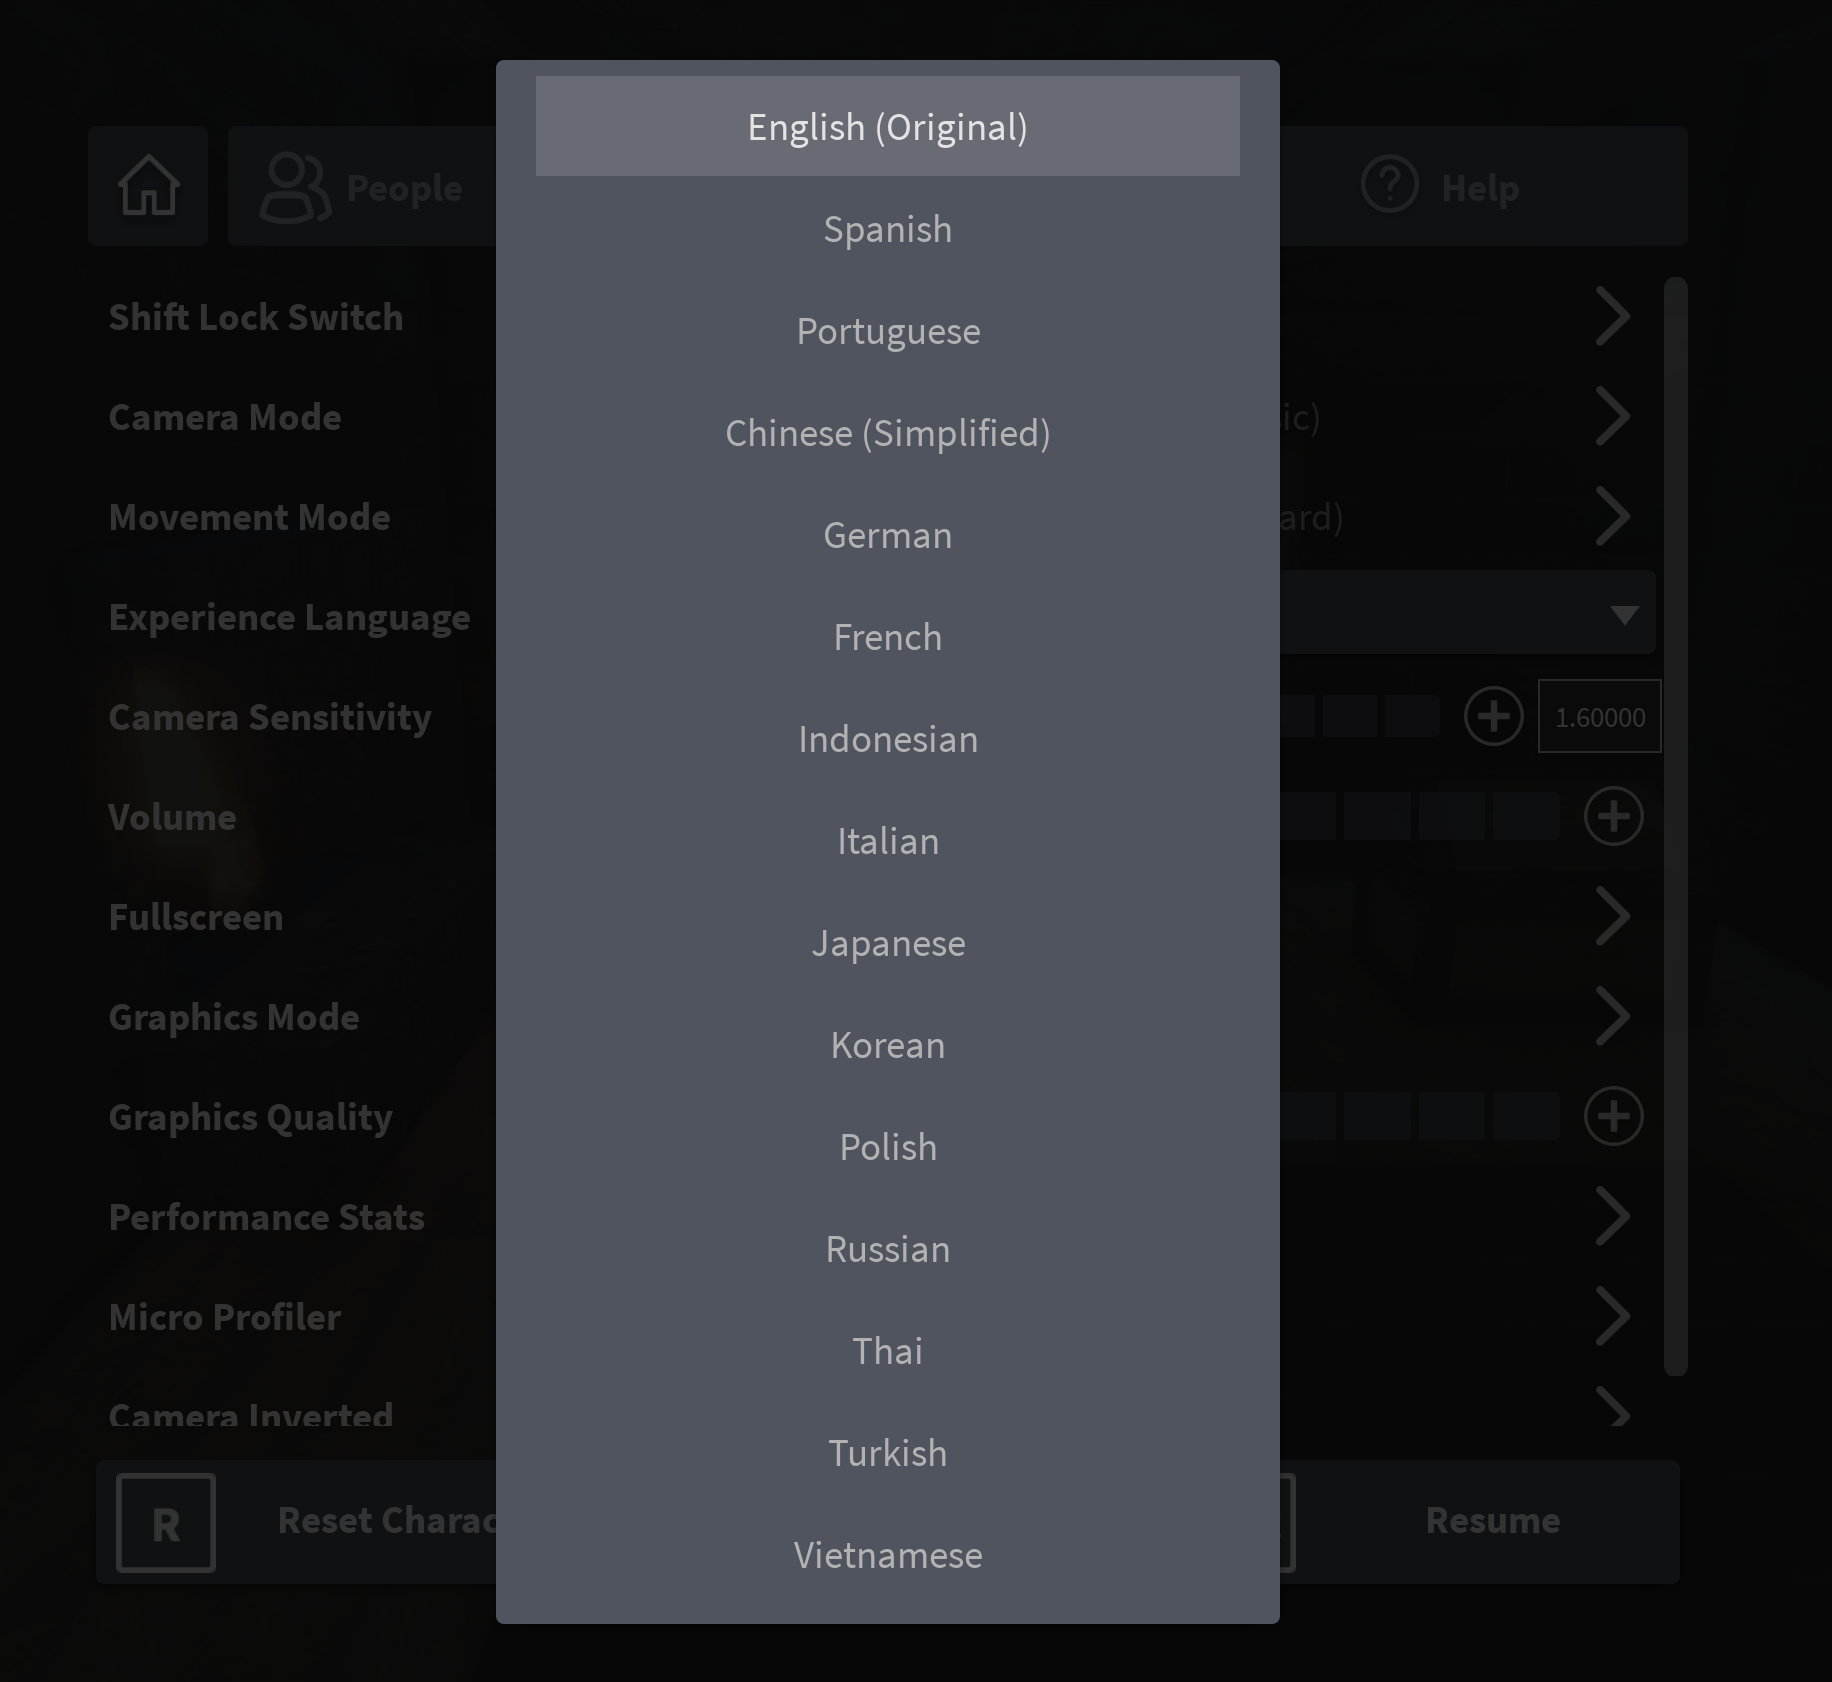
Users can change their language settings at any time using their in-experience Settings menu. This user setting change automatically updates non-scripting localization assets, such as strings handled by automatic translation, but may not update scripted localization changes that have already rendered, such as GUI images or sounds.


To ensure that your scripted localized assets update correctly, listen to the GetPropertyChangedSignal event for changes in the LocaleID property of the Translator instance returned by LocalizationService.GetTranslatorForPlayerAsync. When using LocalizationService.GetTranslatorForPlayerAsync, wrap the function within a pcall() in case of errors.
The following code sample prints the Locale ID of the user and the Locale ID of the Translator instance for the user when the user switches languages:
local LocalizationService = game:GetService("LocalizationService")
local Players = game:GetService("Players")
local player = Players.LocalPlayer

-- If GetTranslatorForPlayerAsync succeeds, it will return a Translator for player's current locale
local res, translator = pcall(function()
	return LocalizationService:GetTranslatorForPlayerAsync(player)
end)

-- Function that gets called when change in player's locale ID is detected
local function OnLocaleIdChanged()
	print("Translator has changed to: " .. translator.LocaleId)
	-- You should re-translate any assets translated with Localization APIs to the player's new language here
end

-- Check if GetTranslatorForPlayerAsync succeeded
if res then
	-- If succeeded, translate assets here using translator
	-- Listen for a change in player's locale ID
	translator:GetPropertyChangedSignal("LocaleId"):Connect(OnLocaleIdChanged)
else
	print('GetTranslatorForPlayerAsync failed: ' .. translator)
end
Create a TranslationHelper module
When you load translators based on the player's default locale, you might reuse code. To reuse code, set up a helper ModuleScript that safely loads translators based on the player's default locale and includes functions for providing specific translations and switching languages.
The following code sample implements a TranslationHelper which you can copy into your own project as a ModuleScript in ReplicatedStorage:
local TranslationHelper = {}

local LocalizationService = game:GetService("LocalizationService")
local Players = game:GetService("Players")

-- Local variables
local player = Players.LocalPlayer
local sourceLanguageCode = "en"

-- Get translators
local playerTranslator, fallbackTranslator
local foundPlayerTranslator = pcall(function()
	playerTranslator = LocalizationService:GetTranslatorForPlayerAsync(player)
end)
local foundFallbackTranslator = pcall(function()
	fallbackTranslator = LocalizationService:GetTranslatorForLocaleAsync(sourceLanguageCode)
end)

-- Create a method TranslationHelper.setLanguage to load a new translation for the TranslationHelper
function TranslationHelper.setLanguage(newLanguageCode)
	if sourceLanguageCode ~= newLanguageCode then
		local success, newPlayerTranslator = pcall(function()
			return LocalizationService:GetTranslatorForLocaleAsync(newLanguageCode)
		end)

		--Only override current playerTranslator if the new one is valid (fallbackTranslator remains as experience's source language)
		if success and newPlayerTranslator then
			playerTranslator = newPlayerTranslator
			return true
		end
	end
	return false
end

-- Create a Translate function that uses a fallback translator if the first fails to load or return successfully. You can also set the referenced object to default to the generic game object

function TranslationHelper.translate(text, object)
	if not object then
		object = game
	end
	if foundPlayerTranslator then
		return playerTranslator:Translate(object, text)
	end
	if foundFallbackTranslator then
		return fallbackTranslator:Translate(object, text)
	end
	return false
end

-- Create a FormatByKey() function that uses a fallback translator if the first fails to load or return successfully

function TranslationHelper.translateByKey(key, arguments)
	local translation = ""
	local foundTranslation = false

	-- First tries to translate for the player's language (if a translator was found)
	if foundPlayerTranslator then
		foundTranslation = pcall(function()
			translation = playerTranslator:FormatByKey(key, arguments)
		end)
	end
	if foundFallbackTranslator and not foundTranslation then
		foundTranslation = pcall(function()
			translation = fallbackTranslator:FormatByKey(key, arguments)
		end)
	end
	if foundTranslation then
		return translation
	else
		return false
	end
end

return TranslationHelper
Once the module is in ReplicatedStorage, require it from a LocalScript to call the module's functions. The following code uses this module's helper function to translate an individual string: