Experiences on Roblox are made up of individual places, comparable to scenes in Unity or maps in Unreal Engine. Each place contains all components for that portion of the experience, including its specific environment, parts, meshes, scripts, and user interface.

Publishing Experiences
By default, publishing a new place creates a new experience. New experiences begin as private and are only accessible to you and members of your group with the correct permissions.
When you're ready to release an experience to a wider audience, you can release it to the public, although beta testing should still be an essential part of your development cycle. Because you're not able to determine which countries have access to an experience, which limits the ability to run beta tests in smaller markets, consider these strategies:
Under the paid access model, users must pay an upfront fee in Robux, the platform's currency. This limits your user base, allowing you to test and iterate with smaller server fills, although the test results you gather may not reflect performance among a wider audience.
Start Place
While an experience can consist of many places, each experience can only have one start place that all users load into when they join. From within any place, you can teleport users to another place.
To publish a place as the start place of an entirely new experience:
In the Studio menu bar, select File → Publish to Roblox. A contextual menu displays.
Fill in the following fields, most of which can be reconfigured later.
Name / Description — The experience name and a description that describes what a potential player should expect. See metadata best practices for guidelines.
Creator — The creator you'd like to attribute as the creator of the experience.
Genre — The genre that best describes the experience.
Devices — Each applicable device type that you want to support. The default options are practical for most new creators.
Click the Create button.
Once you publish your experience, you can configure more settings and also add more places.
Additional Places
After you have published a start place to create the overall experience, you can add additional places through the Asset Manager. To create a new place within an existing experience:
From the View tab, open the Asset Manager.

In its window, click the ☰ icon in the upper-left and select Places from the menu.

Avoiding the thumbnail/name of your start place, right-click in an empty region of the window and select Add New Place. A new place displays with a placeholder name.

Right-click the new place, select Rename, and enter a more descriptive name.
When you double-click the new place, a new Studio session opens for editing the new place.


Changing the Start Place
The start place of an experience cannot be instantly swapped with another place, but you can change it through the following steps.
If desired, save/backup your current start place to a .rbxl file or to a new place within the experience.
Navigate to the Creator Dashboard and click on the thumbnail of the experience for which you want to change the start place. The experience's Overview page displays.
In the left-hand navigation, under Configure, select Places.

Click the Edit in Studio button for the intended new start place. Studio opens and loads that specific place.

Select File → Publish to Roblox As… in the menu bar (do not select simply Publish to Roblox as it would publish the place over itself).
In the window that appears, click the tile for the same experience, then choose the current start place. Click the Overwrite button.

(Optional) If the experience is live, it's recommended that you restart its servers as outlined in Updating Experiences.


Configuring Experiences
You can customize your experience's settings from the Creator Dashboard or within Studio's Game Settings. Some settings are only configurable within Studio while others are only configurable on the dashboard.
Creator Dashboard
Most experience settings are configurable from the Creator Dashboard, including localization, access settings, analytics, and monetization products. You can also fill out the questionnaire required for generating experience guidelines. To configure an experience:
- Select the experience you want to configure from your list of creations on the dashboard.
- Click on the category you wish to configure from the left-hand navigation.
The Communication Settings category allows you to enable strong language if your experience is rated 17+. You can find this under the Audience section of the left-hand navigation. Enable the toggle to relax the text chat filter for some strong language in your experience. This also adds a tag above your experience page to warn other users that your experience may include strong language.

Regardless of whether or not you activate the toggle, players do not face moderation consequences just for using strong language in chat or voice in 17+ games, but they cannot violate Community Standards and Terms of Use. For example, players can type an expletive if they are scared by a monster, but they cannot abuse another player using strong language or otherwise.
Game Settings
Once an experience is published, the Game Settings window contains many Studio-level settings and customization options. To open it, click the Game Settings button in the Home tab of the ribbon menu.

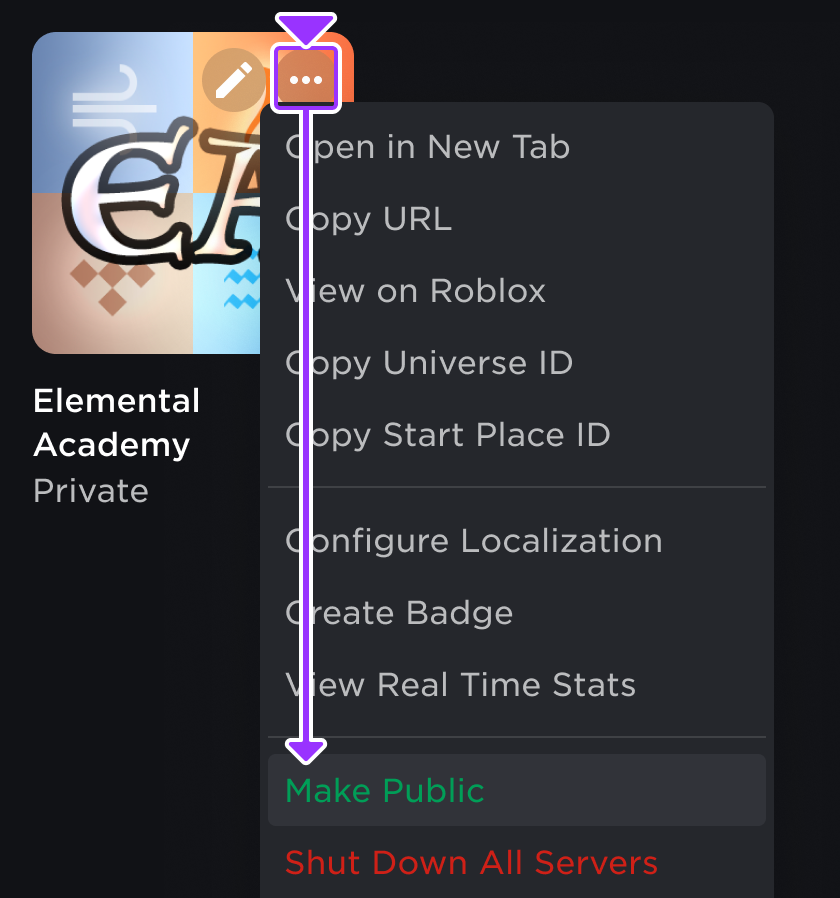
Releasing to the Public
New experiences begin as private and are only accessible to you and members of your group with the correct permissions. When appropriate, you can release an experience to the public as follows:
Navigate to the Creator Dashboard.
Locate the experience, click the ⋯ in the corner of its thumbnail, and select Make Public.
(Recommended) Explore how to provide Experience Guidelines for the experience.

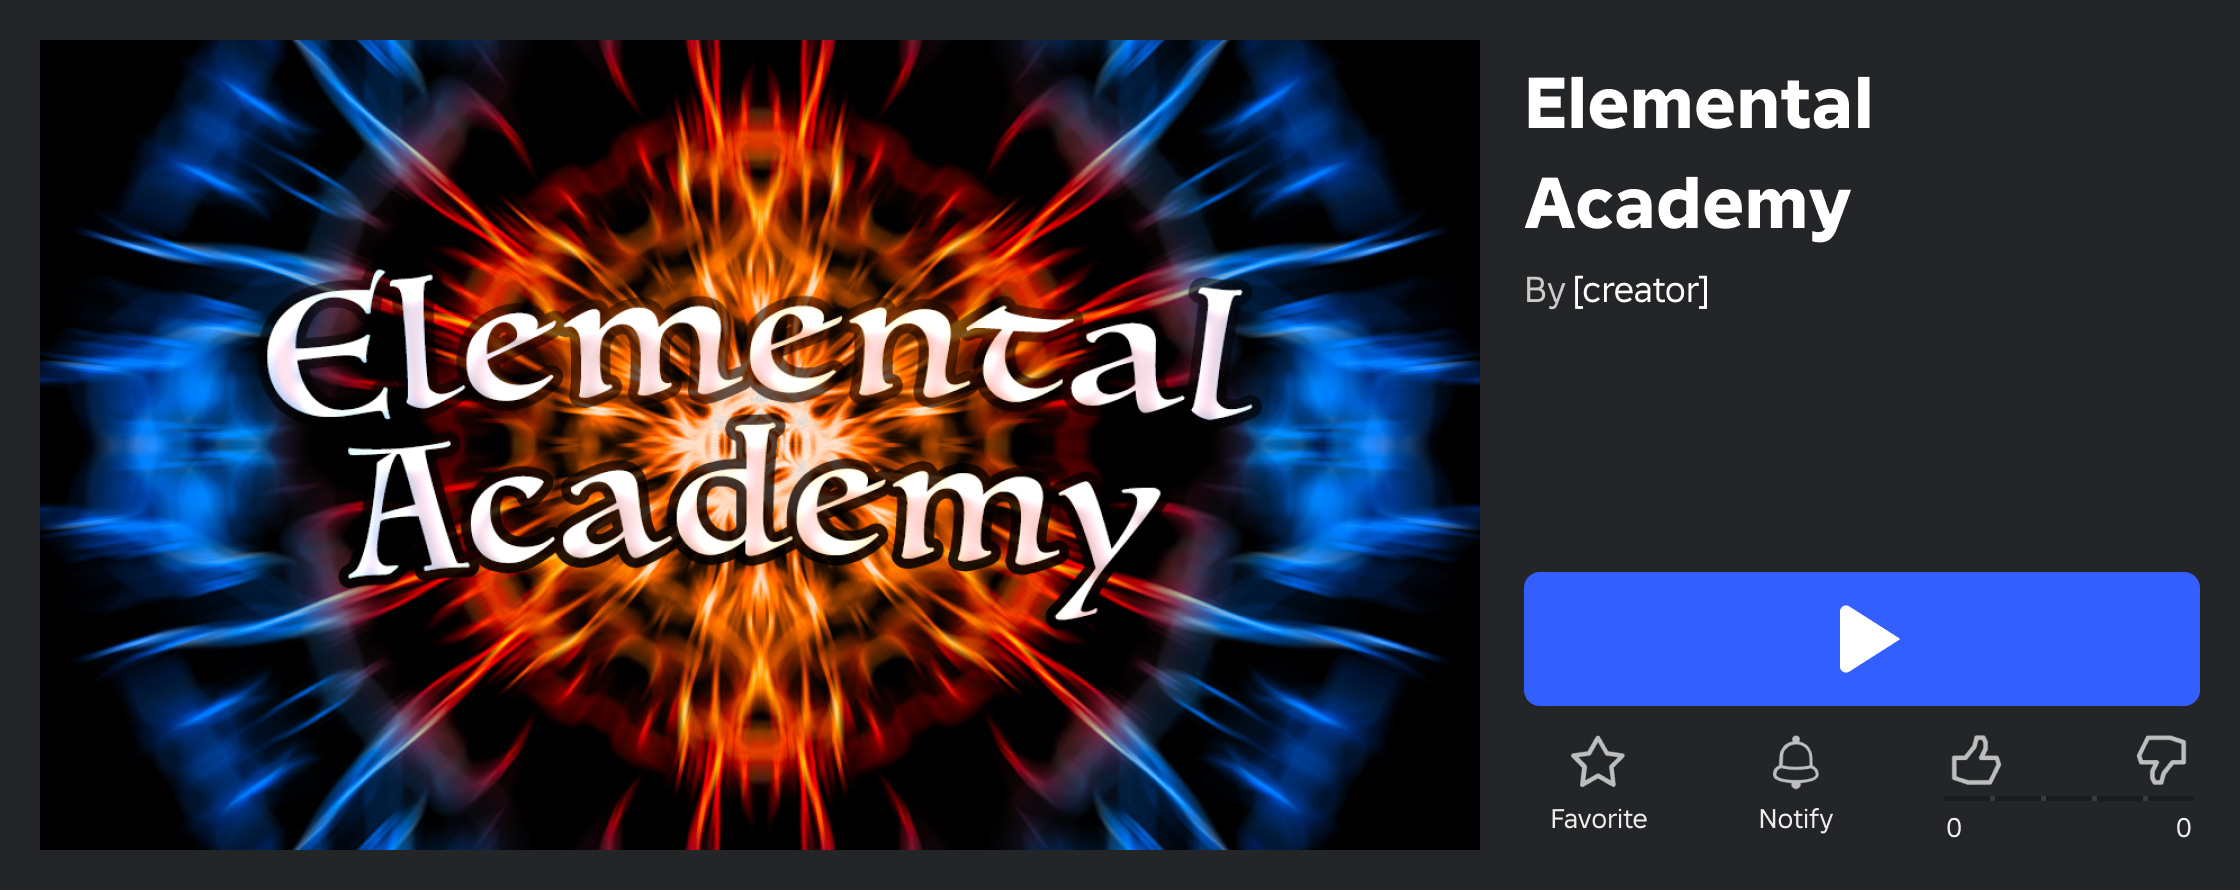
Linking to Experiences
Once an experience is public, you can copy its link from the Creator Dashboard or the Roblox app and share it with others via social media or similar.
Locate the experience, click the ⋯ in the corner of its thumbnail, and select Copy URL.

Share the copied URL with others as a direct link to the experience's landing page featuring a play button.


Experience Guidelines
Experience Guidelines provide information on the experience's main page about what kind of content the experience contains so that users can make informed decisions about what they interact with. Roblox uses this information to recommend experiences on the Home and Discover pages based on each user's appropriate age group and regional content policies.
Each experience guideline has two components:
- Age Recommendations — Indicates which age group an experience is suitable for based on child development research and industry standards. For more information, see Age Recommendations.
- Content Descriptors — Indicates what type of content is within an experience, such as realistic depictions of blood or paid item trading.
Roblox strongly recommends that you fill out the guidelines questionnaire for each of your experiences so that they're available to the largest appropriate audience possible. Roblox does not recommend experiences without guidelines to users under 13 years old, and if your experience has no guidelines but contains 17+ content, it will be moderated.
Allowing Copying
By default, all private and public experiences are locked so that you or your group are the only creators who have permission to edit its place files. However, if you want to allow other creators to be able to access an editable copy of your experience for their own creation process, you can uncopylock the experience. This is particularly helpful when you create templates or reference files for open use.
To allow the community to access an editable copy of your experience:
Navigate to the Creator Dashboard.
Click on the thumbnail of the experience you want to allow users to copy. The experience's Overview page displays.
In the left-hand navigation, under Configure, select Places.
Click the start place marked with a star icon. The place's Basic Settings page displays.

In the place's left-hand navigation menu, select Permissions.

Enable Allow users to download a copy of this Place.
Click the Save Changes button. Your experience is now uncopylocked and creators can access an editable copy of it from the experience's main page.


Updating Experiences
After you publish an updated version of an experience to Roblox, players aren't immediately removed from the old version of the experience. Instead, you have a few options for how quickly you transition players to the new version, each with advantages and disadvantages depending on the situation.
If you take no action, players transition to the new version of the experience as the servers running the old version eventually empty and shut down. This option is non‑disruptive but your player base might be playing different versions of the experience for a prolonged period of time. If you recently published a major update, having players on the old version can be undesirable. This approach is best for minor updates.
Reverting to Previous Versions
Roblox automatically retains saved versions of each place for version control and backup purposes. To revert to a previously saved version of any place within an experience:
With the experience open, access the Asset Manager from the View tab.
In its window, click the ☰ icon in the upper-left and select Places from the contextual menu.
Right-click the desired place and select View History. The version history window opens.
Locate and select the version to revert to, then click the Open button to launch a new Studio session for the selected version.
If the place has been released to the public and you want to overwrite the place's live/public version with the reverted version:
- Publish the place you just reverted to, choosing the same experience and same place during the publishing process.
- Restart the servers for updates as outlined in Updating Experiences.
Metadata Best Practices
Your experience's name and description create an important first impression and contribute to how easily users find your experience through Roblox's dynamic discovery systems.
Experience Name
All experiences should adhere to the following best practices for naming:
Keep the name consistent – Renaming an experience too often reduces the chances that users can find it using a previous name.
Avoid spamming – Frequent repetition of words or phrases may result in demotion of your experience.
- Use decorations cautiously – Decorating the name with one or two well-placed emojis isn't harmful, but misplaced or excessive decorations can confuse users who quickly want to identify the experience.
Avoid unrelated text – Adding text which is unrelated to the core name, such as a current version release or the latest updates, can negatively affect the discovery and recognition of your experience.


Experience Description
A well-written description promotes the genre and unique qualities of your experience while also providing the best context for both users and Roblox's dynamic discovery systems.
- Summarize your experience – Summarize what your experience is about in the first sentence, as this is your opportunity to present the most accurate impression of its genre and content.
- Provide keywords – Include all keywords that may be relevant to your experience. This makes it easier for users and Roblox to understand the themes and genres presented in your experience.
- Avoid spamming – Avoid repeating keywords or adding irrelevant keywords. This may result in demotion of your experience.