Classic clothing are a type of 2D cosmetic item that you can apply to the surface of a classic avatar character. You can create your own classic clothing items and sell them on the Marketplace.
This guide covers the process of creating a classic clothes asset using the following steps:
- Designing an image for a T-shirt or Shirts and Pants using a third-party image processing program.
- Testing the look of the classic clothes in Studio.
- Uploading the image assets to the Marketplace.
Creating
The three types of classic clothing items are T-shirts, Shirts, and Pants. Each has different design and format requirements.
T-shirts
T-shirts are square images applied to the front of an avatar's torso. To make a t-shirt:
- Create a square image (such as 512×512 pixels).
- Use an image editor to apply changes in the specific square sections of the template images.
- Upload it to Roblox using the Asset Manager to test in your own experience.
- Follow the Testing steps to ensure your 2D image looks as expected.
- Follow the Uploading steps to upload and sell your asset on the Marketplace.
Shirts and Pants
Classic shirts and pants are image assets that wrap around an avatar's body. Because classic shirts and pants have specific size requirements, download and modify the provided template files to begin creating these assets.


Table of sizes for each template part
| Shape | Pixel Size (width x height) | Clothing Parts |
|---|---|---|
| Large square | 128 × 128 | FRONT and BACK |
| Tall rectangle | 64 × 128 | Sides of torso (R, L) Sides of arms and legs (L, B, R, F) |
| Wide rectangle | 128 × 64 | UP and DOWN |
| Small square | 64 × 64 | Top and bottom of arms and legs (U, D) |
To begin creating classic shirts and pants:
- Download and unzip the following clothing templates to use as a canvas for your art.
- When complete, upload the image to Roblox using the Asset Manager to test in your own experience.
- Follow the Testing steps to ensure your 2D image looks as expected.
- Follow the Uploading steps to upload and sell your asset on the Marketplace.
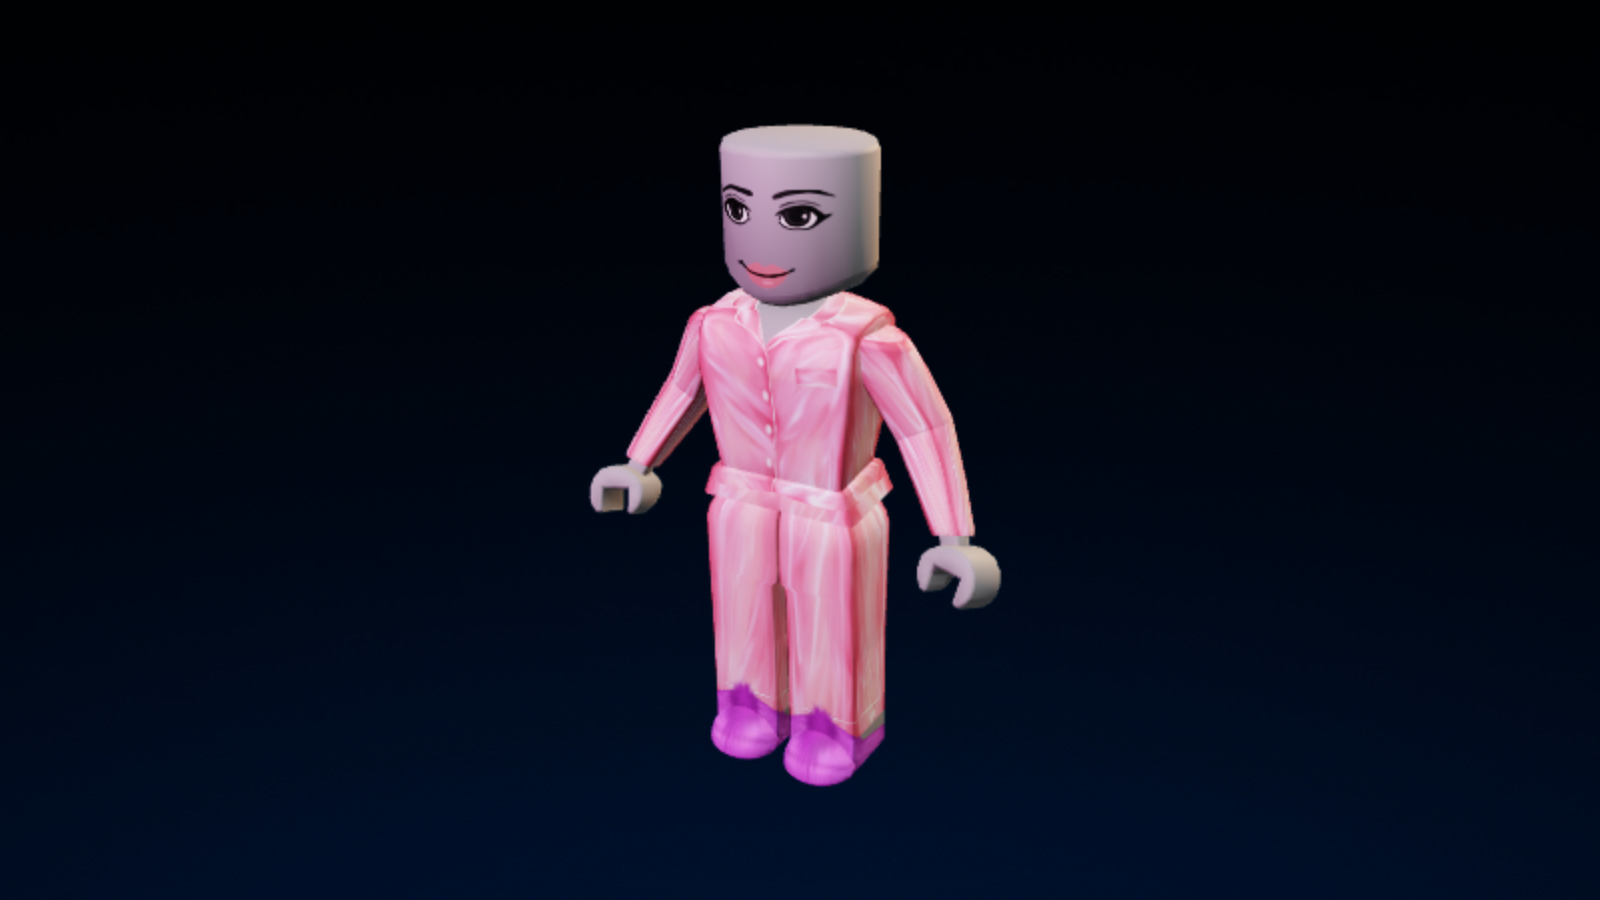
When applying clothing to R15 avatars in Roblox, some limits exist with the templates and may require some testing to get right, as shown in the following examples:


Testing
To ensure the best quality results, you can test your clothes before uploading or selling. You can test your clothes without needing to pay any fees.
In Studio, open the Avatar tab and click Rig Builder.
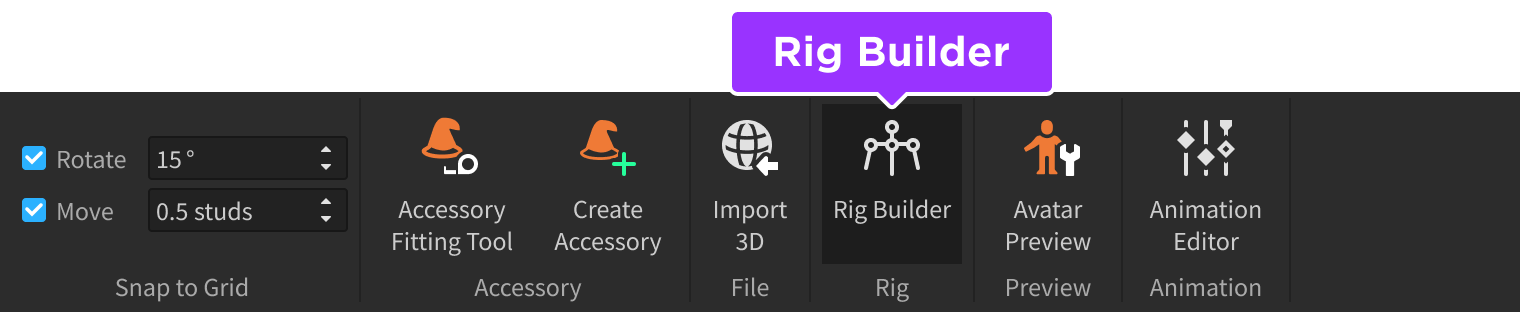
Choose a rig type from the popup menu. This should drop an avatar mannequin in your workspace named Dummy.

In the Explorer window, hover over the Dummy object, click the ⊕ button and insert either a ShirtGraphic (T-shirt), Shirt, or Pants object according to the clothing you want to test.
Locate and select the new Shirt Graphic or Clothing object parented under Dummy.

Shirt Graphic (T-shirt)

Clothing (Shirt/Pants)
In the Properties window, locate the associated property as follows:

Graphic (T-shirt)
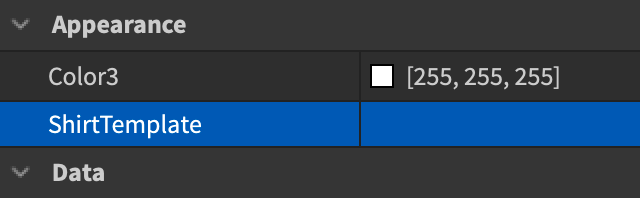
ShirtTemplate (Shirt)

PantsTemplate (Pants)
Click inside the property's row and select the image you uploaded to Roblox. This applies the clothing texture to the dummy character.


Uploading
After finalizing and testing your design, you can upload the clothing item to the Marketplace for a fee. After Roblox reviews and uploads the item to the Marketplace, you will receive a commission for all sales of your items.
To upload a custom clothing item:
- Navigate to the Upload Asset page.
- Select either T-Shirt, Shirt, or Pants from the asset type selector menu.
- Click the small Upload button to choose a valid image file from your computer.
- Enter a name and description for your clothing item.
- Click the Upload button at the bottom of the page. Once approved by Roblox, the item shows up as one of your creations and can be equipped or offered for sale to other Roblox players.